MF3640 Install Guide
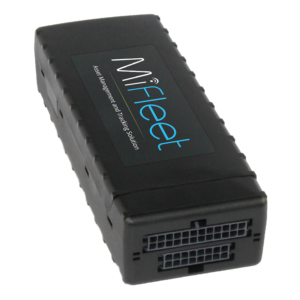
MF3640 Commercial Fleet
Installation Guide
What's Included
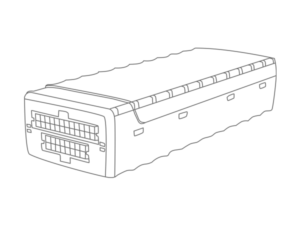
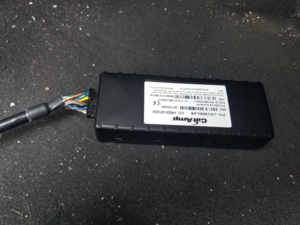
MF3640 Device
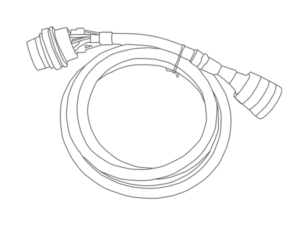
Proper Vehicle Cable
Special Note Before Install
The MF3640 contains an internal battery and thus should be oriented with the barcode facing upwards towards the sky. Device should be placed directly under a thick panel to maximize its performance and protect from external elements.
Install Type Quick Links
Light Duty OBDII Install
1. Make sure your vehicle is outdoors.
2. Locate the vehicles device connection port, this is usually located under the dash close to the front windshield.
3. Continue with plugging the MiFleet device into port.
Typical connection sequence:
- Connect any peripherals to the device.
- Plug in power harness, complete.
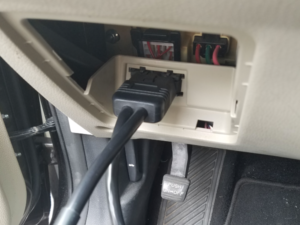
4. Ensure the vehicle ignition is on.
5. Communication verification is critical for proper functionality of device. First verify that the device has been acquired and has registered to the wireless network. This may be verified in one of two ways.
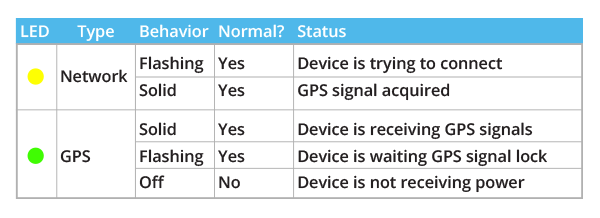
1. Check status LED lights for orange and green. If both lights are solid, the data connection is good.
2. If no connection please contact MiFleet support at 1.866.643.5338 opt 2.
Heavy Duty JBUS Install
1. Make sure your vehicle is outdoors.
2. Locate the vehicles device connection port, this is usually located under the dash close to the front windshield.
3. Continue with plugging the MiFleet device into port.
Typical connection sequence:
- Connect any peripherals to the device.
- Plug in power harness, complete.

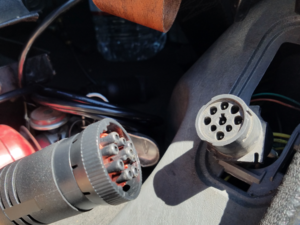
4. Ensure the vehicle ignition is on.
5. Communication verification is critical for proper functionality of device. First verify that the device has been acquired and has registered to the wireless network. This may be verified in one of two ways.
1. Check status LED lights for orange and green. If both lights are solid, the data connection is good.
2. If no connection please contact MiFleet support at 1.866.643.5338 opt 2.
2 Wire Install
1. Make sure your vehicle is outdoors.
2. Locate the Power (orange) and Ground (black) connections on the cable.
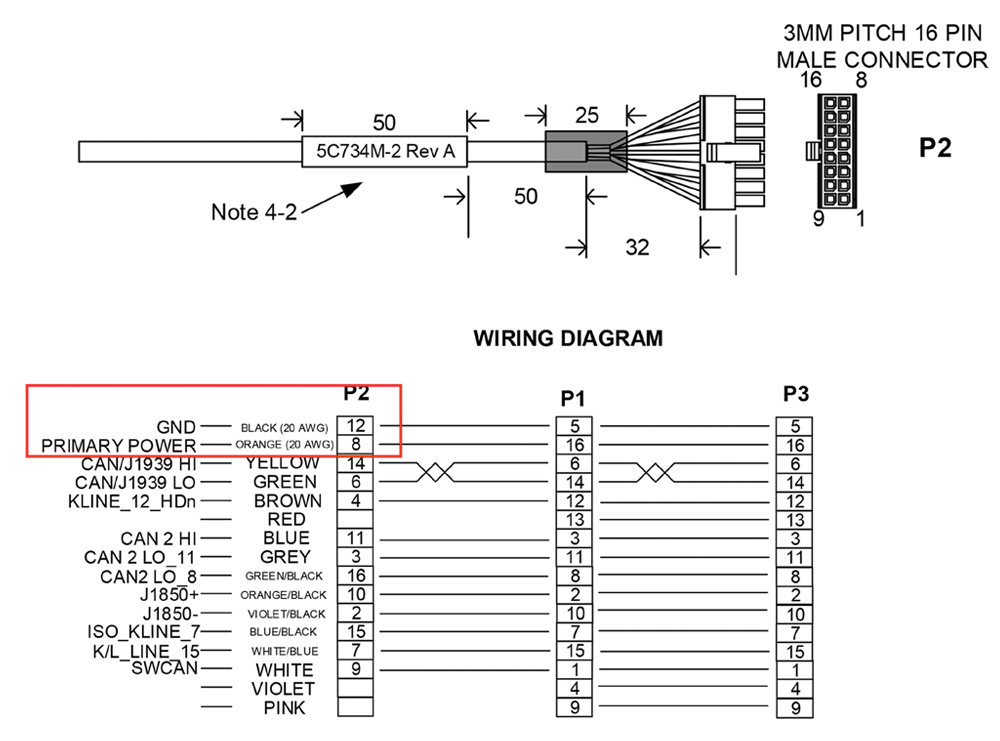
3. Connect vehicles 12v constant power to orange cable.
4. Connect vehicle’s ground (black cable) to ground connection. We suggest using the battery.
5. Turn vehicle on, let vehicle run for 10 minutes to ensure proper connection to platform.
3 Wire Install
For basic installation, install the included installation harness into the MiFleet tracking hardware.
1. Power (Red Wire): Must be connected to a constant power source. Proper wiring will ensure you receive accurate reporting within the MiFleet Tracking application.
*Incorrect wiring of the red wire can cause the unit to show incorrect power up events. Good sources to tie Power into are (Battery, Alarm System, and Clock).
2. Ground (Black Wire): A good connection is vital for proper performance. When wiring the ground wire from the harness, look for a bolt, screw, or wire that contacts the bare metal of your vehicle’s chassis.
3. Ignition (White Wire): A switched power source is only ON when the ignition is keyed ON - connect the white wire to a switched power source. This will register ignition off and on events when the vehicle is switched off or on. Recommended sources: Ignition Switch in fuse box, fuel pump.”
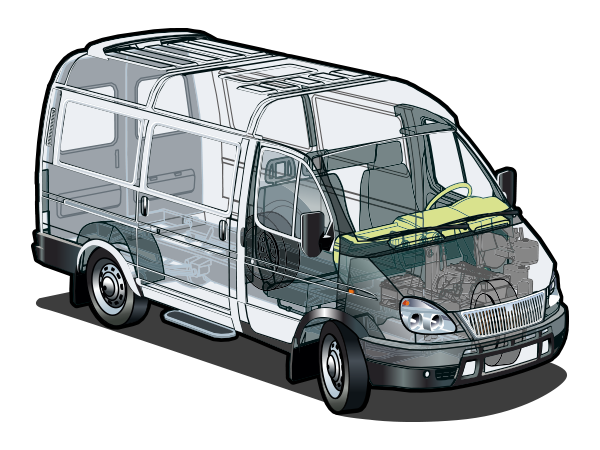
4. Locate an installation location for placement of the MiFleet hardware. Place the tracking device in line of sight. Do not place under metal, or adhere to the sub-frame chassis; this will cause interference. DEVICE BARCODE MUST FACE THE SKY. For large commercial vehicles and trucks we recommend fixing the device to the dashboard or glovebox. For a smaller compact vehicle we, recommend the same location as well as against the dashboard on the back window.
*To prevent the unit from moving or falling it is recommended to use a zip-tie to securely fasten the device to the vehicle sub frame. This is important to get accurate acceleration-based events.
5. To complete installation, all vehicles should validate the Ignition ON/OFF functionality on the MiFleet software platform.
6. If the Platform does not report/show ignition changes please have the installer verify the wire connections and/or proceed to call MiFleet support for questions and troubleshooting steps.
YELLOW is recommended installation zones. Make sure the barcode of your MiFleet hardware is facing the sky.
* The Commercial Fleet Device has two (2) status LEDs. Confirm the status using the following blinking patterns:
