MF730 Install Guide
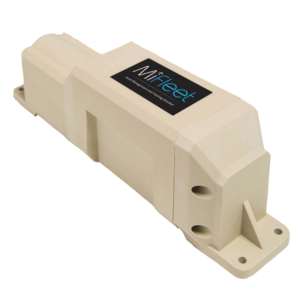
MF730 Battery-Powered Trailer Tracker
Installation Guide
What's Included
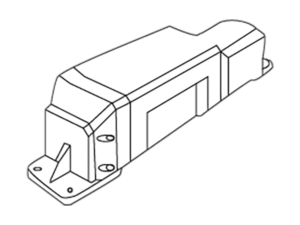
MF730 Device
Magnet
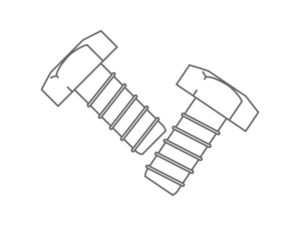
Mounting Screws
Safety Guidelines
The Safety chapter contains safety information related to the installation of any MiFleet device.
Personal Protective Equipment
Federal regulations require wearing appropriate Personal Protective Equipment (PPE). Adherence to this requirement is monitored and
mandated by ’s Environmental Health and Safety (EHS) personnel and regulated and mandated by the U.S. Department of Labor Occupational Safety and Health Administration (OSHA). PPE at a minimum, consists of:
·Safety glasses with side shield, meeting the ANSI Z87.1 standards
·Safety shoes, meeting ASTM F2413-05 and ANSI Z41/C75 standards
·Mechanics type work gloves (that is, gloves that are appropriate for
the task to be completed)
·Hard hat, meeting ANSI Z89.1 - Class A, B, and C standards
·High visibility vest, meeting ANSI 107 standards
·Work uniform
Refer to specific instructions within procedures and all applicable MSDS for additional safety precautions. Check with customers or third-parties to verify whether they have additional PPE requirements such as fall protection (full-body harnesses, anchorage point and lanyard), hearing protection, escape oxygen masks, respiratory protection, flame resistant coveralls, etc.
Secure/ Stabilize Equipment
Installers and contractors must follow OSHA regulatory requirements for working on equipment, or parts thereof, which are suspended or held aloft by use of slings, hoists, or jacks. Whenever the equipment is parked, the parking brake shall be set. Equipment parked on inclines shall have the wheels chocked and the parking brake set. Equipment, or parts thereof, which are suspended or held aloft by use of slings, hoists, or jacks shall be substantially blocked or cribbed to prevent falling or shifting before employees are permitted to work under or between them.
Working on Elevated Surfaces
Installers and contractors must follow OSHA regulatory requirements for working on elevated surfaces. When installers are on the tops or roofs of equipment, they must employ a fall protection system consistent with
OSHA regulations.
Installers must also check with the customer or third-party persons, who are in charge of safety at the installation site, for any further requirements.
Optional Tools
Cordless Drill
3/16” Drill Bit
9/64” Drill Bit
Magnetic Apex Driver Bit - 5/16”
3/8” Open-End Wrench
5/16” Socket – 1/4” drive
Ratchet - 1/4” drive
Scratch Awl
Sharpie Pen
Rust Preventative Spray Paint
Loctite (Optional)
Acetone (Optional)
IMPORTANT!
This device come pre-attached with a magnet taped on it to force power off of device. Remove magnet when ready to start tracking. If magnet is not on device, call MiFleet support at 1.866.5338 immediately for replacement device. Device must be mounted facing up or down for optimum GPS reception and accuracy. Installers must also check with the customer or third-party persons, who are in charge of safety at the installation site, for any further requirements. Retain the activation magnet - in order to disable reporting upon de-installation of device.
Before leaving or allowing the installer to leave, all vehicles should validate the First Time Power Up Report Notification functionality on the MiFleet platform. If the Platform does not report/show the Power Up Notification please have the installer verify the removal of the Magnet and/or proceed to call MiFleet support for questions and troubleshoot.
Device Install
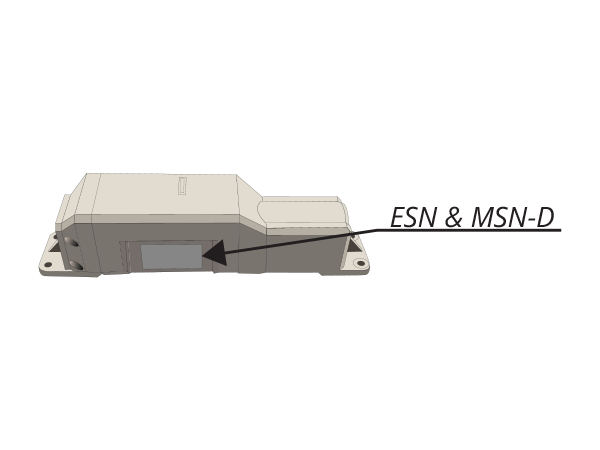
1. Record ESN and MSN-D from device label and customer’s defined trailer number.
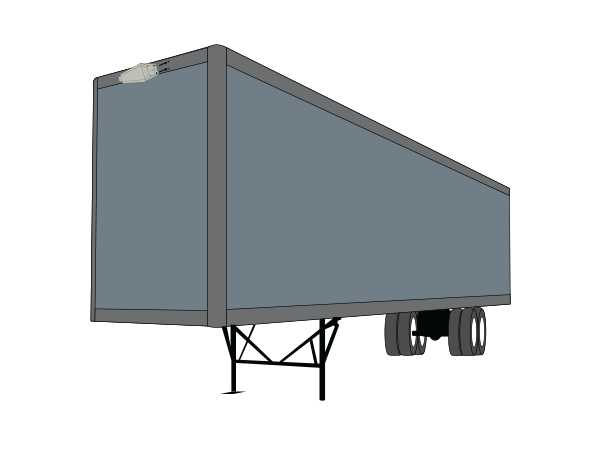
2. Select a device mounting location on the trailer top rail.
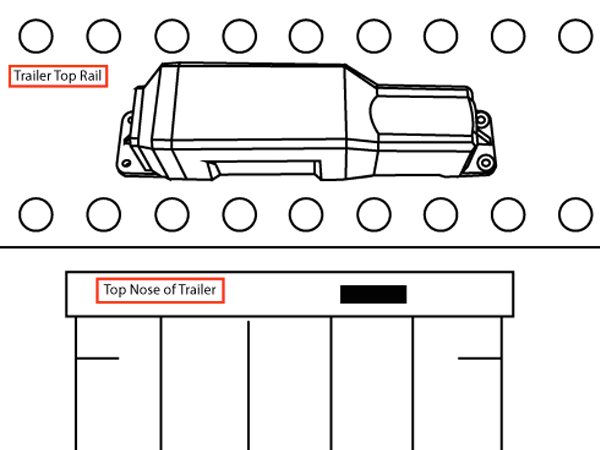
3. Place the mounting flanges against the trailer’s top rail so that round battery access panel is on the left.
4. Using the device mounting flanges as a template, mark the location for each of the mounting screws (4) onto the trailer’s top rail.
5. At each marked location, drill a 9/64” hole.
6. Install the four (4) mounting screws through the mounting flanges and into the trailer’s top rail.
7. Tighten the screws.
8. Remove activation magnet from front of device enclosure in order to activate device reporting.
Additional Mounting Options
Dry Van and Reefer Nose Mount Installation
Dry Van and Reefer Under Trailer Installation
Chassis Screw Mount Installation
Chassis Magnetic Mount Installation
Intermodal Container Door Screw Mount Installation
Intermodal Container Door Magnetic Mount Installation
Flatbed Screw Mount Installation
-Under Trailer Screw Mount
-Nose Rail Screw Mount
Installation Tips
Drill holes at 9/64”
Deburr and paint surfaces when necessary when drilling
Clean and remove debris and shavings
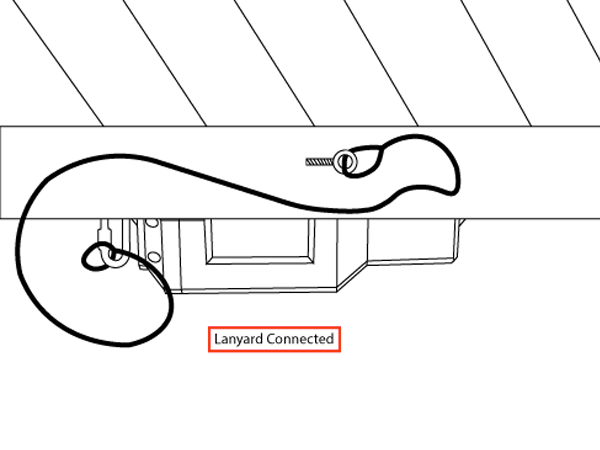
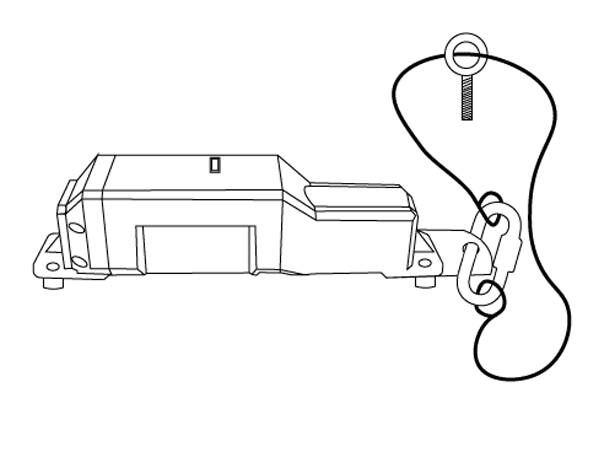
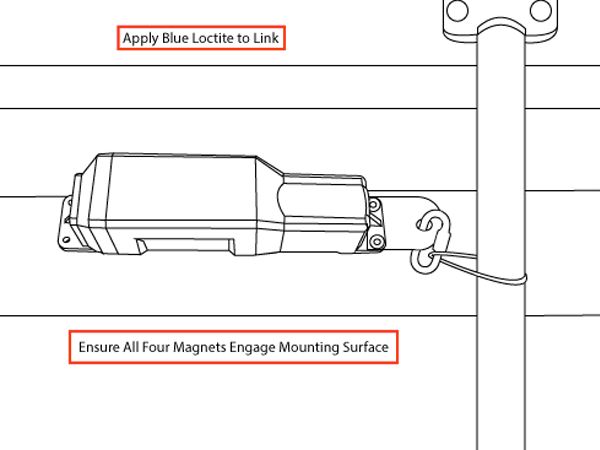
Use a lanyard for extra security when using magnets
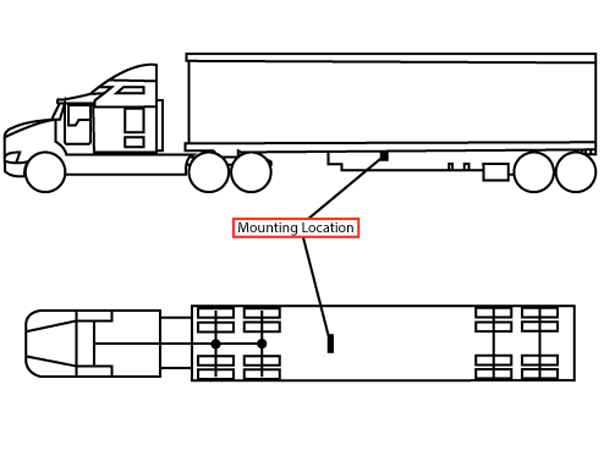
When installing on cross member:
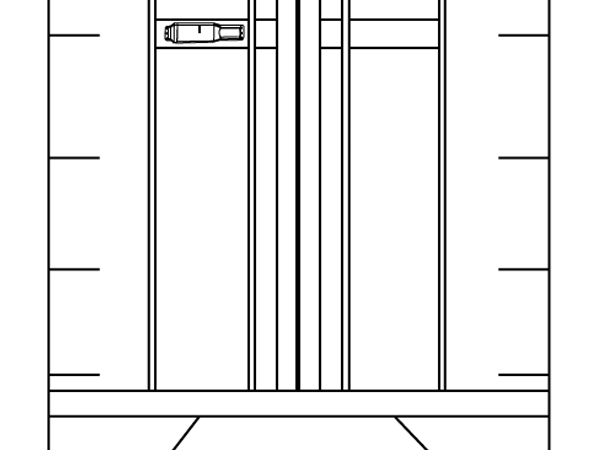
Mount on cross member located approximately half way between front and rear of trailer. Cross member must be in front of and clear of tandem axle slide and rails. Identify Mounting Location.
Device Orientation to maximize GPS signal
Device must be mounted facing up or down for optimum GPS reception and accuracy.
After Install
Remove the activation magnet from the front of the device enclosure in order to activate device reporting.
A lanyard is recommended when securing the GPS with magnets.
