MF603 Install Guide
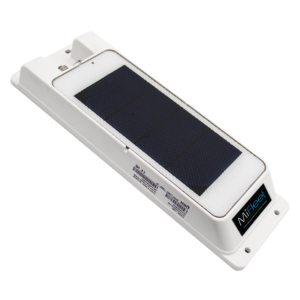
MF603 Solar Powered Asset Tracker
Installation Guide
Install Type Quick Links
Asset Tracker Install
What's Included
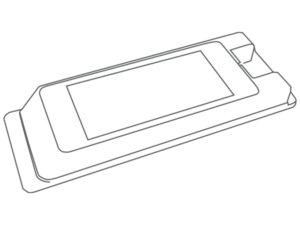
MF603 Device
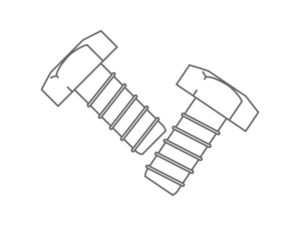
Bolts
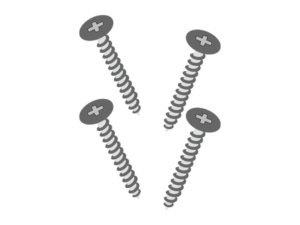
Screws
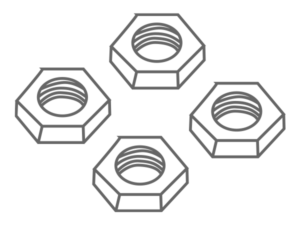
Nuts
Special Note Before Installation
The recommended mounting location for the MF603 is high on the nose of the trailer, away from the corner, and just below the top rail with the GPS antenna pointing up. Install the device per the instructions included in the box for the MF603.
Recommended Tools & Supplies (Not Included)
Electric Drill
Digital Multi Meter (DMM)
Wire Strippers
Crimping Tool
7mm Nut Driver Bit
¾” Step Drill Bit
Drill and drill bit:
3/32 or 2mm drill bit for pre-drilling for sheet metal screws (pre-drilling optional)
5/32 or 4mm drill bit when using included bolts
Weatherproof silicone such as GE Silicone II (clear) or Loctite 207 (clear) with at least -40°C to 85ºC (-40°F to 185°F) temperature.
Cable Zip-Ties
Isopropyl Alcohol
Clean rag
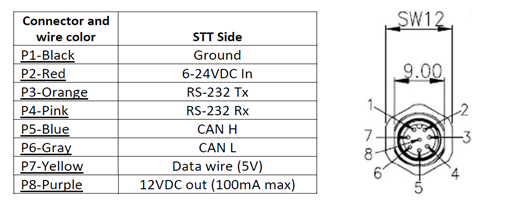
1. Power Connection Cable - Unscrew the protective cover from the DIN cable connection on the MF603 and connect the Power cable. Make sure to seat the DIN cable securely in the MF603 and screw it in completely. Secure the cable with metal cable clamps.
2. Power Connection - You will need to connect the MF603 cable to the trailer power through MF603’s Pink (6-24VDC In) and Black (Ground) wires. Wire the red wire with the corresponding power joint and black wire with the corresponding ground joint from the trailer.
Door Sensor Install
What's Included

MF603 Device

Bolts

Screws

Nuts
Accessories Required For Door Sensor Install
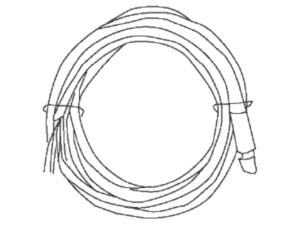
Wiring Harness
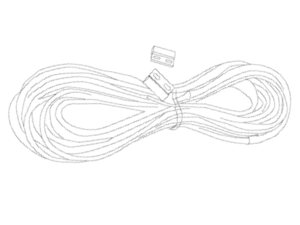
Door Open/Closed Sensor
Special Note Before Installation
The recommended mounting location for the MF603 is high on the nose of the trailer, away from the corner, and just below the top rail with the GPS antenna pointing up. Install the device per the instructions included in the box for the MF603.
Recommended Tools & Supplies (Not Included)
Electric Drill
Digital Multi Meter (DMM)
Wire Strippers
Crimping Tool
7mm Nut Driver Bit
¾” Step Drill Bit
Drill and drill bit:
3/32 or 2mm drill bit for pre-drilling for sheet metal screws (pre-drilling optional)
5/32 or 4mm drill bit when using included bolts
Weatherproof silicone such as GE Silicone II (clear) or Loctite 207 (clear) with at least -40°C to 85ºC (-40°F to 185°F) temperature.
Cable Zip-Ties
Isopropyl Alcohol
Clean rags
(4) sheet metal screws or (4) bolts and nuts or (4) rivets
1. Power Connection Cable - Unscrew the protective cover from the DIN cable connection on the MF603 and connect the Power cable. Make sure to seat the DIN cable securely in the MF603 and screw it in completely. Secure the cable with metal cable clamps.
2. Power Connection - You will need to connect the MF603 cable to the trailer power through MF603’s Pink (6-24VDC In) and Black (Ground) wires. Wire the red wire with the corresponding power joint and black wire with the corresponding ground joint from the trailer.
Door Sensor Mounting: Mount the part with the magnet inside the trailer on the primary door and the other one with wire on the ceiling of the trailer using appropriate hardware.
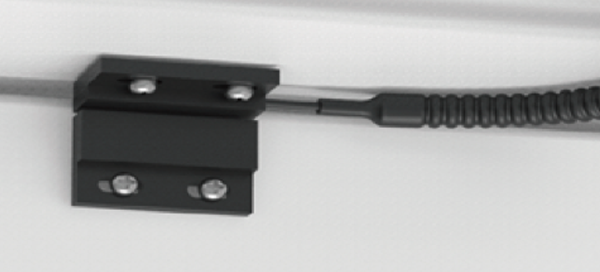
Wiring Door Sensor: The final step to complete the installation of your MF603 is the connection of the door sensor wires. It is important that you secure the wires with cable zip-ties making sure to keep away from any moving parts. With the wires along with the mounting pad on the ceiling of the trailer combine Yellow and Black wires and then connect either one wire (no polarity on 2 wires) to the MF603’s Pink (RS232 Rx) wire and the other wire to the MF603’s Purple (12 VDC out) wire through the following steps:
1. Strip 2 wires jacket to 7mm.
2. Insert the whole stripped wire into splice and crimp it with tools.
3. Insert crimped splice into heat tube.
4. Do the same for the MF603’s pink wire.
5. Move the heat tube to cover the whole splice.
6. Heat tube using a blower or lighter until the tube is shrunk.
7. Repeat steps for combining the other wires and connecting them to the MF603’s purple wire.
Temperature Sensor Install
What's Included

MF603 Device

Bolts

Screws

Nuts
Accessories Required For Temperature Sensor Install

Wiring Harness
Temperature Sensor
Special Note Before Installation
The recommended mounting location for the MF603 is high on the nose of the trailer, away from the corner, and just below the top rail with the GPS antenna pointing up. Install the device per the instructions included in the box for the MF603.
Recommended Tools & Supplies (Not Included)
Electric Drill
Digital Multi Meter (DMM)
Wire Strippers
Crimping Tool
7mm Nut Driver Bit
¾” Step Drill Bit
Drill and drill bit:
3/32 or 2mm drill bit for pre-drilling for sheet metal screws (pre-drilling optional)
5/32 or 4mm drill bit when using included bolts
Weatherproof silicone such as GE Silicone II (clear) or Loctite 207 (clear) with at least -40°C to 85ºC (-40°F to 185°F) temperature.
Cable Zip-Ties
Isopropyl Alcohol
Clean rags
(4) sheet metal screws or (4) bolts and nuts or (4) rivets
1. Power Connection Cable - Unscrew the protective cover from the DIN cable connection on the MF603 and connect the Power cable. Make sure to seat the DIN cable securely in the MF603 and screw it in completely. Secure the cable with metal cable clamps.
2. Power Connection - You will need to connect the MF603 cable to the trailer power through MF603’s Pink (6-24VDC In) and Black (Ground) wires. Wire the red wire with the corresponding power joint and black wire with the corresponding ground joint from the trailer.
Wiring Temperature Sensors to MF603:
The final step to complete the installation of your MF603 is the connection of the temperature sensor wires. Route the wires from the drilled access hole into the reefer control box using the same path used for the MF603’s power cable. It is important that you secure the wires with cable zip-ties making sure to keep away from any moving parts. With the wires in the control box combine the 3 data wires and then connect them to the MF603’s Yellow (data) wire through the following steps:
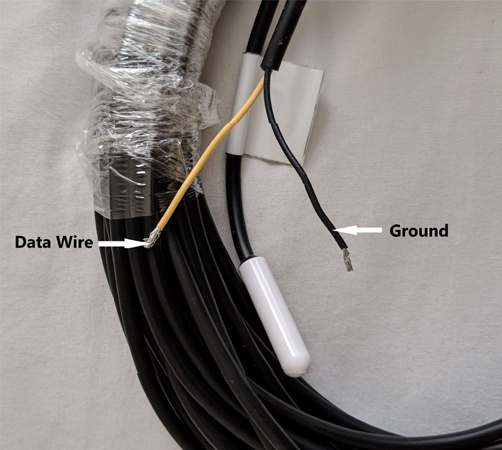
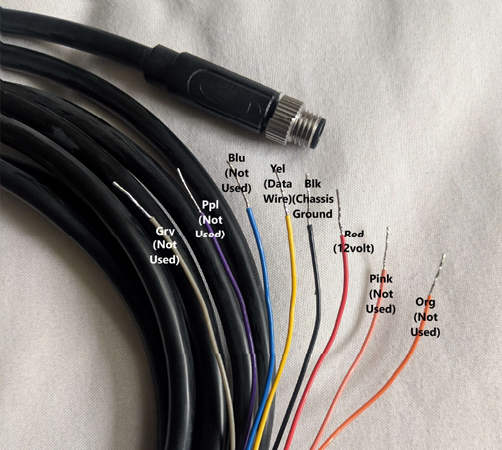
1. Strip 3 data wires jacket to 35mm and inner 1-wire to 7mm.
2. Insert the whole stripped wire into splice and crimp it with tools (suggest using Crimp Hand Fixer KY-
8161 as above image shows).
3. Insert crimped splice into heat tube.
4. Do the same for the MF603’s yellow wire.
5. Move the heat tube to cover the whole splice.
6. Heat tube using a blower or lighter until the tube is shrunk.
7. Repeat steps for combining the 3 ground wires and connecting them to the MF603’s Black wire.


