MFAK11 Install Guide
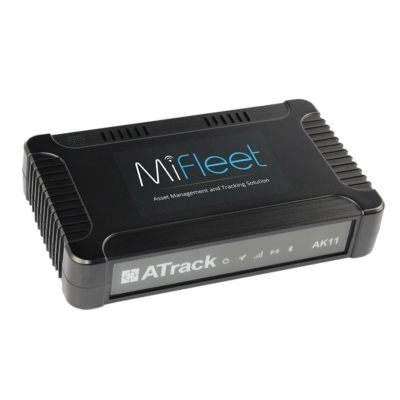
MFAK11 Commercial Fleet
Installation Guide
What's Included
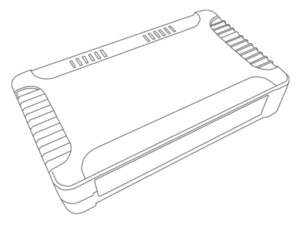
MFAK11 Device
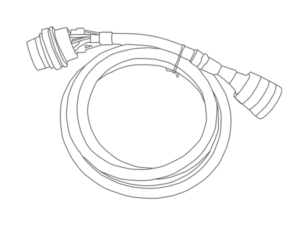
Proper Vehicle Cable
Special Note Before Install
Device should be installed with barcode facing the ground and should be placed directly under a thick panel to maximize performance while being protected from external elements.
Install Type Quick Links
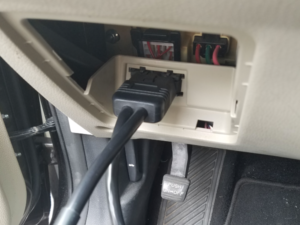
Light Duty OBDII Install
1. Locate the vehicle's OBDII diagnostic port. This is usually located on the driver’s side of the vehicle under the dash. It may be hidden behind a cover plate, or on the side of a center console.
*Some foreign/luxury vehicles such as Toyota, Honda, BMW, etc .. may have a slightly different variation of the standard OBDII port and/or have the port hidden in a nonstandard location. If you have a foreign vehicle, and cannot locate your OBDII port, please consult your user manual or local dealership to help locate it.
*In Heavy Duty vehicles the port should be in the door jam.
2. Once the diagnostic port has been located, plug the MiFleet hardware into the port.

Heavy Duty JBUS Install
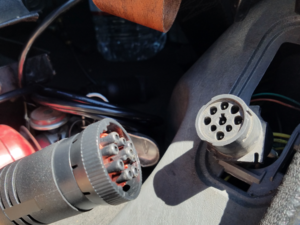
1. Locate the vehicle's OBDII diagnostic port. This is usually located on the driver’s side of the vehicle under the dash. It may be hidden behind a cover plate, or on the side of a center console.
*Some foreign/luxury vehicles such as Toyota, Honda, BMW, etc .. may have a slightly different variation of the standard OBDII port and/or have the port hidden in a nonstandard location. If you have a foreign vehicle, and cannot locate your OBDII port, please consult your user manual or local dealership to help locate it.
*In Heavy Duty vehicles the port should be in the door jam.
2. Once the diagnostic port has been located, plug the MiFleet hardware into the port.

3 Wire Install
1. Locate your vehicle’s unswitched 12V/24V power line, ignition sense (greater than 8.5V) and ground line. Verify that the ignition sense exceeds 8 volts when on.
*For best results, it is strongly recommended that the Device connection be on its own circuit. If possible, connect the power input directly to the vehicle battery and protect the circuit with an inline fuse. If you must connect through the fuse box, use standard commercial wiring practices to create a permanent installation rather than using press-in fuse clips or other temporary measures.
2. Connect black wire to vehicle’s ground line.
*Must be connected to chassis ground.
3. Connect red wire to vehicle’s primary power source.
*Must be connected to a constant (unswitched) +12 VDC or +24 VDC supply. The preferred method is to connect directly to the vehicle battery terminal line.
4. Connect yellow wire to vehicle’s ignition line.
*The ignition line must be connected to the vehicle ignition or another appropriate key operated line, such as ACCESSORY, ensuring that power to the ignition wire is available only when the vehicle ignition is on.
Wire Connection Diagram
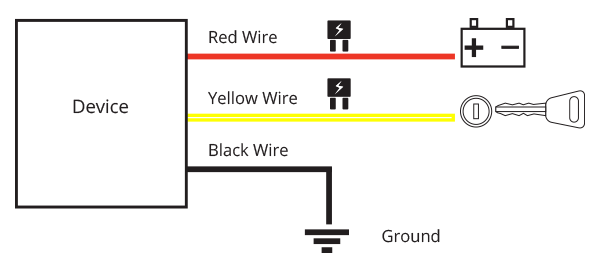
Failure to connect these lines as described may result in discharge of the vehicle battery.
Install Notes
1. Make sure your vehicle is outdoors.
2. Locate the vehicle's OBDII diagnostic port. This is usually located on the driver’s side of the vehicle under the dash. It may be hidden behind a cover plate, or on the side of a center console.
3. Continue with plugging the MiFleet device into port.
Typical connection sequence:
- Connect any peripherals to the device.
- Plug in power harness, complete.
4. Ensure the vehicle ignition is on.
5. Communication verification is critical for proper functionality of device. First verify that the device has been acquired and has registered to the wireless network. This may be verified in one of two ways.
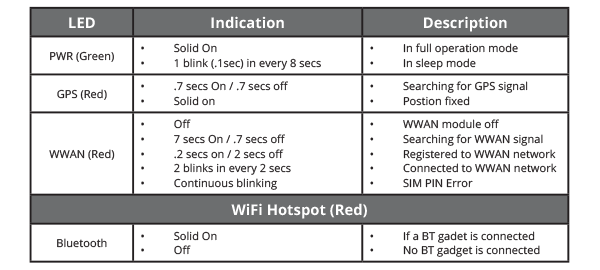
1. Check status LED lights for orange and green. If both lights are solid, the data connection is good.
2. If no connection please contact MiFleet support at 1.866.643.5338 opt 2.

