MFP1-SF Install Guide
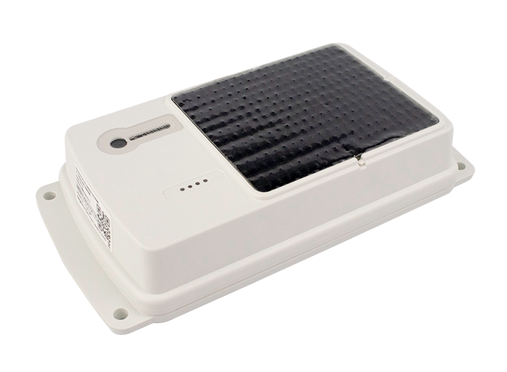
MFP1-SF Solar Powered Asset Tracker
Installation Guide
What's Included
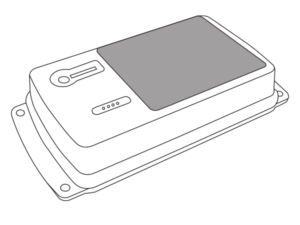
MFP1-SF Device
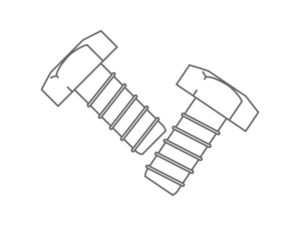
(4) Mounting Screws
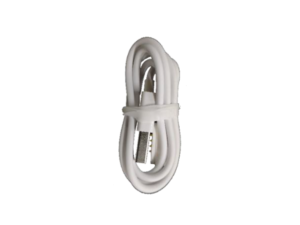
USB Charging Cable

Hex Wrench
Device Pre-Install Notes
Make sure the initial installation is not in proximity of other sensors, wireless alarms or other communication devices.
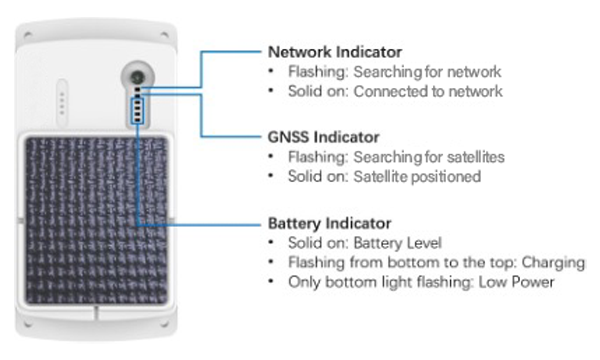
To initially power on the device, plug the USB cable into a USB power adapter, or into a computer USB port. Then connect the other end to the 4 metal contacts on the GPS tracker as shown in the image below. You should see the status LEDs turn on.
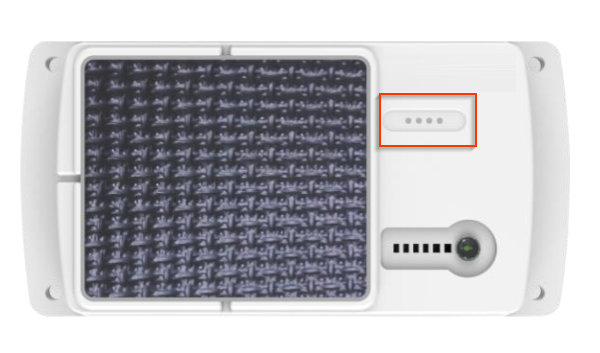
After the device powers up. Log in to your MiFleet tracking platform to ensure the device is checking in and updating the device location.
Device Install
(4) screws are included to allow for install on non-metal surfaces or for a more secure install.
(4) magnets are optional (purchased separately) to allow for easy install on metal surfaces.
Device Installation Considerations
Device can be installed and removed by hand if using magnets (purchased separately), it is advised to place out of reach or out of common view.
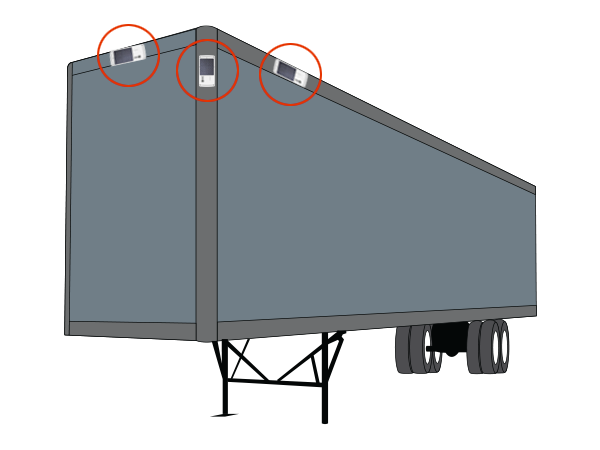
The device can be installed anywhere as long as it has exposure to the sun. Can be physically installed:
· Horizontally
· Vertically
It can be installed on the top of or the side of vehicles, equipment, machinery, or other asset.
Key items to be aware of when choosing a place to install the tracker:
· Amount of sun exposure
· Clean solar panel
· Exposure to the elements, including rocks, hail, ice, pressure washing, and dirt may damage the solar tracker or build up on the solar panel degrading the charging performance
It is recommended to install the solar tracker at an angle or vertically, this will enable dirt and solids to fall off, and enable rain to rinse of the solar panel
Device Install Examples
LED Indicator
